
Presentation to Video
My friend recorded our We Rise in Tech Conference presentations and I wanted to get them up online. I had the idea to also put our slides in the video and figured out a way to do it. Here’s a walk through of what it took to get our videos ready.
Note to future self and others: Record your slide presentation DURING your talk using your presenting tool (Keynote, PowerPoint, Google, etc.) because it makes the syncing a lot easier.
What you need
- Presentation program that allows recording of presentation (I used Keynote)
- Video recording of your presentation with audio (We used an iPhone on a tripod)
- iMovie (or Windows Movie Maker or equivalent)
Step 1 - Record your presentation slides
If you did not record your slide deck while presenting, have no fear! Just play back your video (on your phone, another computer, anywhere you can watch it) and set your presenting tool to record your presentation. Start the recording (mute the microphone if possible) and follow along with your video recording, moving through it as close as you can to the video.
Screen shots of how to record in Keynote
Record Slideshow
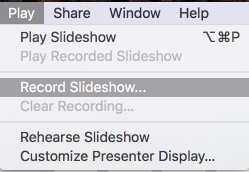
Start Recording and Mute Mic

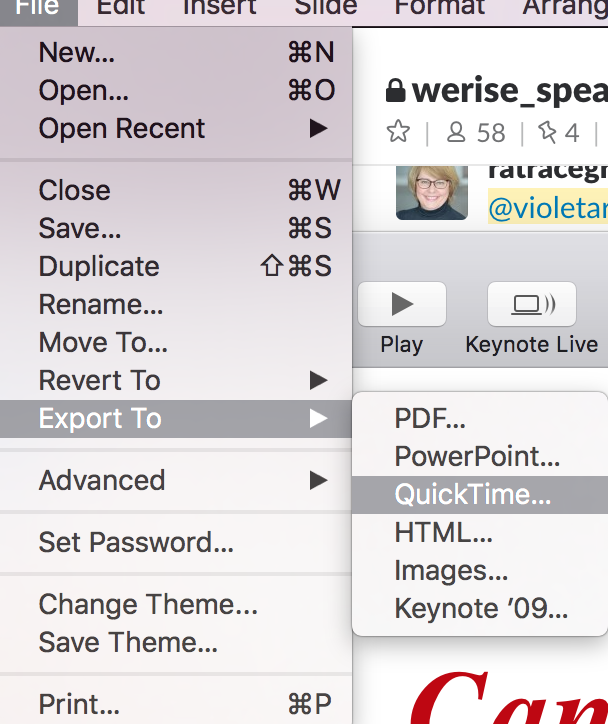
Step 2 - Export recorded slides to video
I chose to export to QuickTime because I use a Mac, but if you’re on a Windows or other O/S use whatever works for you.
Step 3 - Combine in iMovie
Open iMovie and start a new project.
Drag the video of you speaking in first.
This is into the lower left hand corner of iMovie.
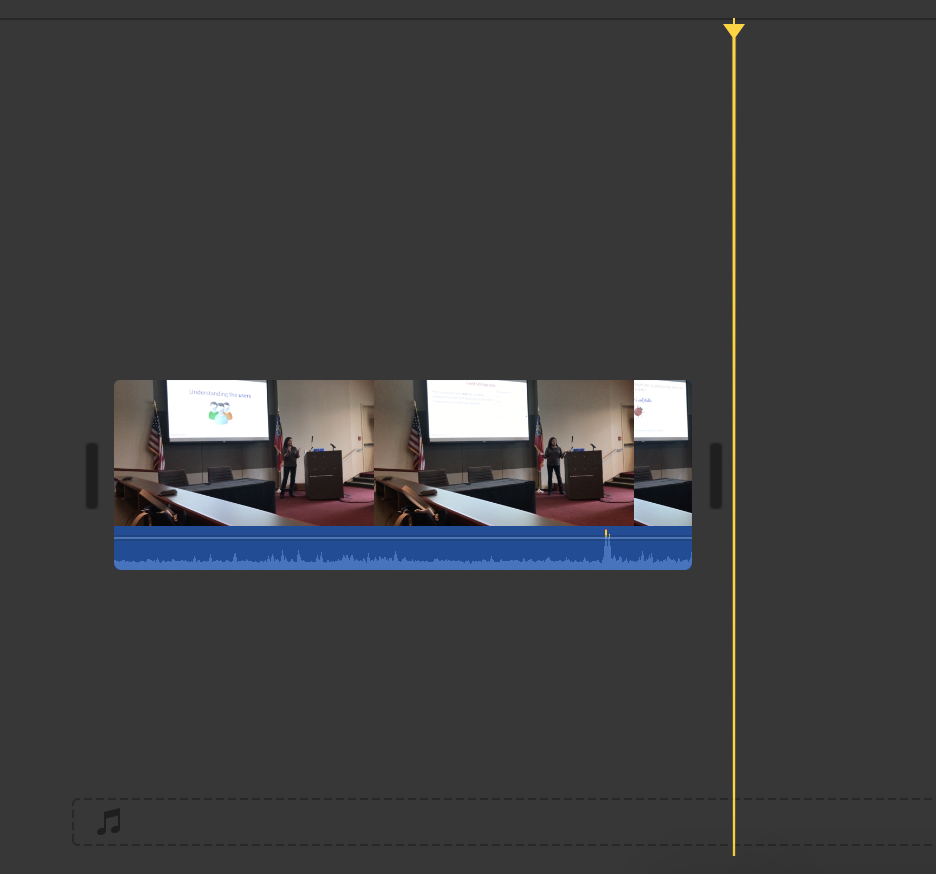
Drag the video of your slides above the first video.
Line it up so they start at the same time (fixable through drag and drop if you don’t get it right the first time). Make sure to not drag directly on TOP of the other video directly, it should sit above it.
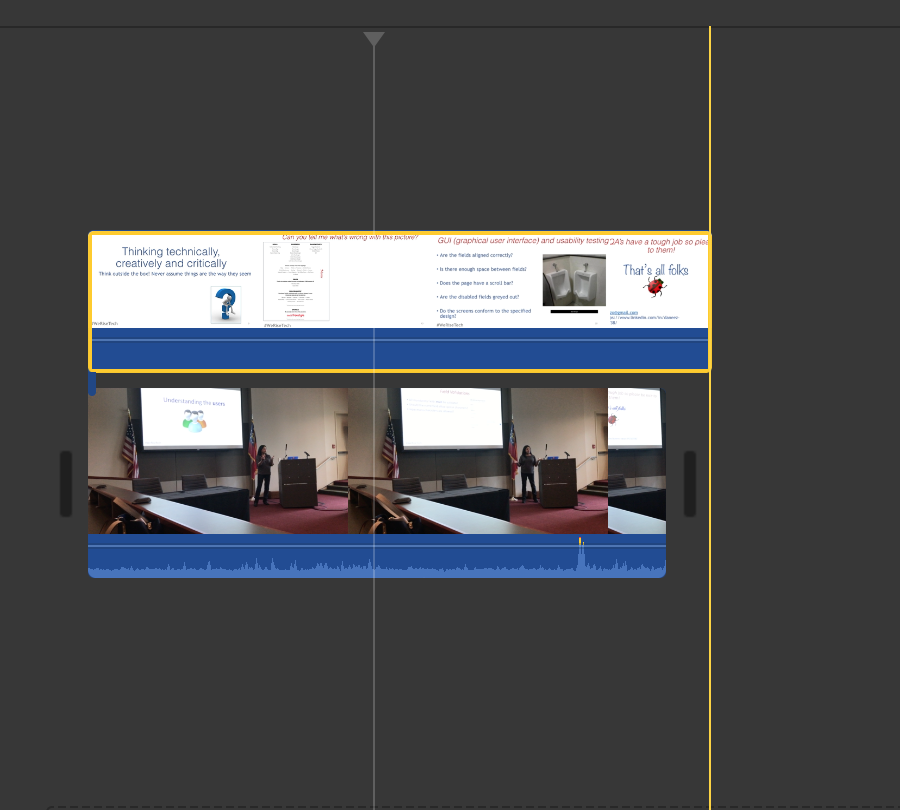
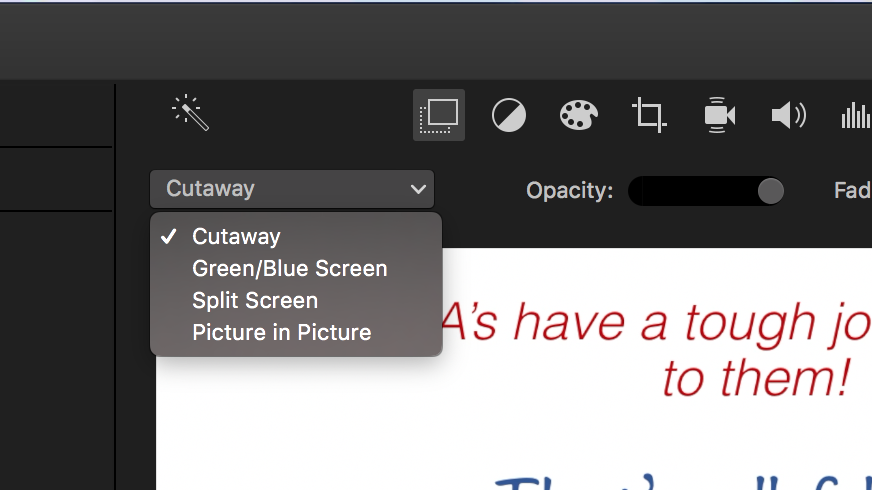
Set the second video as Picture in Picture
Select the second video you dragged in (the one on top). You should see an icon with two squares on the right hand side (above the preview window). This button controls the Video Overlay Settings. Click the button and choose Picture in Picture. Size and position your slides where you want them to live for the duration of the talk.
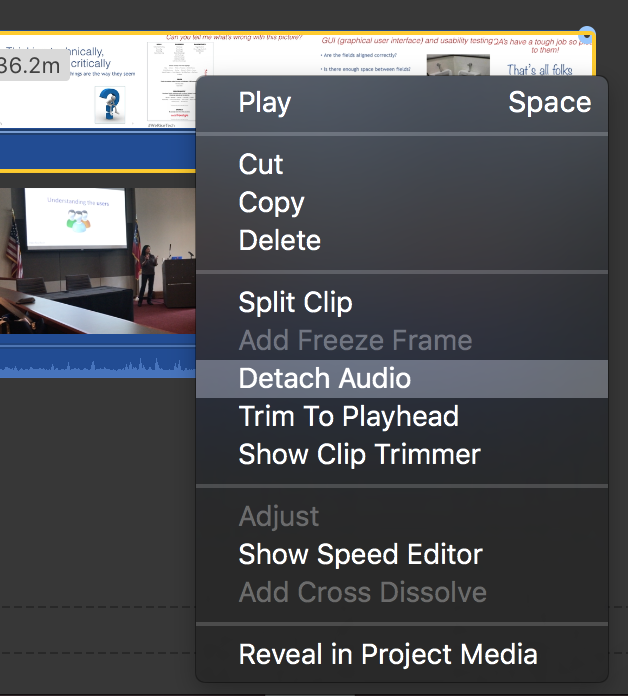
Delete audio from one of the videos
If you recorded your presentation while you spoke, your slide recording may have audio (which will play along with your video recording). We’re going to remove whichever audio you don’t want for your final product. Select which video stream you want to delete the audio from, right click and select Detatch Audio. The Audio will appear below both video streams. You can select the audio and hit delete to remove it.
Step 4 - Tweak video alignment and settings
Lastly, watch your video and make sure it lines up (same timeline, slides change when they should) and that the volume is good. Make any adjustments here before we export.
Step 5 - Export video and upload
iMove gives quite a few options here. I chose to upload directly to YouTube, but you can also export to a video.
Hopefully this post helps you get your first presentation video online! Good luck and happy presenting :)